Windows WordPad
What Is Windows WordPad? (Introduction)
If you’ve ever used a Windows computer, chances are you’ve seen WordPad sitting quietly among the built-in programs. Maybe you ignored it. Maybe you opened it once and thought, “Isn’t this just a fancier Notepad?” Or perhaps you wondered why it even exists when Microsoft Word is so popular. Let’s clear that up.
Windows WordPad is a basic word processing application that comes pre-installed with Microsoft Windows. You don’t need to download it. You don’t need to pay for it. It’s already there—waiting for you to use it. Think of WordPad as the middle ground between Notepad and Microsoft Word. Notepad is extremely simple—plain text only, no formatting, no styling. Microsoft Word, on the other hand, is powerful and feature-packed, sometimes even overwhelming for beginners. WordPad sits comfortably in between.
With WordPad, you can type documents, format text, change fonts, adjust paragraph alignment, insert pictures, and even open certain Word documents. It’s lightweight, fast, and doesn’t demand much from your system. If Microsoft Word feels like a full professional studio, WordPad feels like a neat, well-organized home office.
So who is WordPad for? Beginners learning computers. Students preparing simple assignments. Professionals drafting quick notes. Anyone who needs a clean, distraction-free writing tool without complex features.
In a world full of complicated software, WordPad is refreshingly simple. And sometimes, simple is exactly what you need.
History and Evolution of WordPad
To truly appreciate WordPad, we need to take a quick trip back in time. WordPad was first introduced with Windows 95. Back then, computers were becoming more common in homes and offices, and Microsoft needed a tool that was more capable than Notepad but not as heavy as professional word processors.
Before WordPad, there was Microsoft Write. WordPad replaced it and offered improved formatting capabilities. It supported rich text formatting (RTF), which was a big deal at the time. Suddenly, users could change fonts, adjust alignment, and create documents that looked more polished than plain text files.
As Windows evolved—Windows XP, Windows 7, Windows 8, Windows 10, and now Windows 11—WordPad evolved too. One of the biggest visual changes came with Windows 7 when Microsoft introduced the Ribbon interface. If you’ve used Microsoft Word 2007 or later, you’ll recognize this layout. The Ribbon replaced traditional menus with organized tabs and icons, making tools easier to find.
However, while other Microsoft Office products kept growing more advanced, WordPad stayed relatively simple. It didn’t try to compete with Word. Instead, it maintained its identity as a lightweight editor. In fact, in recent years, Microsoft announced plans to gradually phase out WordPad in future Windows versions, encouraging users to shift toward Word or other text editors.
Even so, WordPad remains a quiet workhorse. It has survived decades of technological change, and millions of users have relied on it for quick documents, notes, and simple formatting tasks.
Sometimes, longevity speaks louder than flashy features. WordPad may not be glamorous, but it has stood the test of time.
How to Open WordPad in Windows
Opening WordPad is incredibly easy. In fact, there are multiple ways to do it. Let’s walk through the simplest methods so you can choose the one that suits your style.
Using the Start Menu
This is the most common and beginner-friendly method. Click the Windows icon in the bottom-left corner of your screen. In the search bar, type “WordPad.” As you type, Windows will automatically display matching results. Click on WordPad, and it will open instantly.
It’s straightforward—like looking up a contact in your phone and tapping their name.
Using the Run Command
If you prefer shortcuts and speed, this method is for you. Press Windows key + R on your keyboard. A small Run dialog box will appear. Type wordpad and press Enter. That’s it. WordPad will launch immediately.
This method feels like using a secret door—quick and efficient.
Using Windows Search
In Windows 10 and 11, you can also click the search icon on the taskbar and type “WordPad.” Click the app from the search results.
No matter which method you choose, accessing WordPad takes just seconds. And once it’s open, you’re ready to start creating.
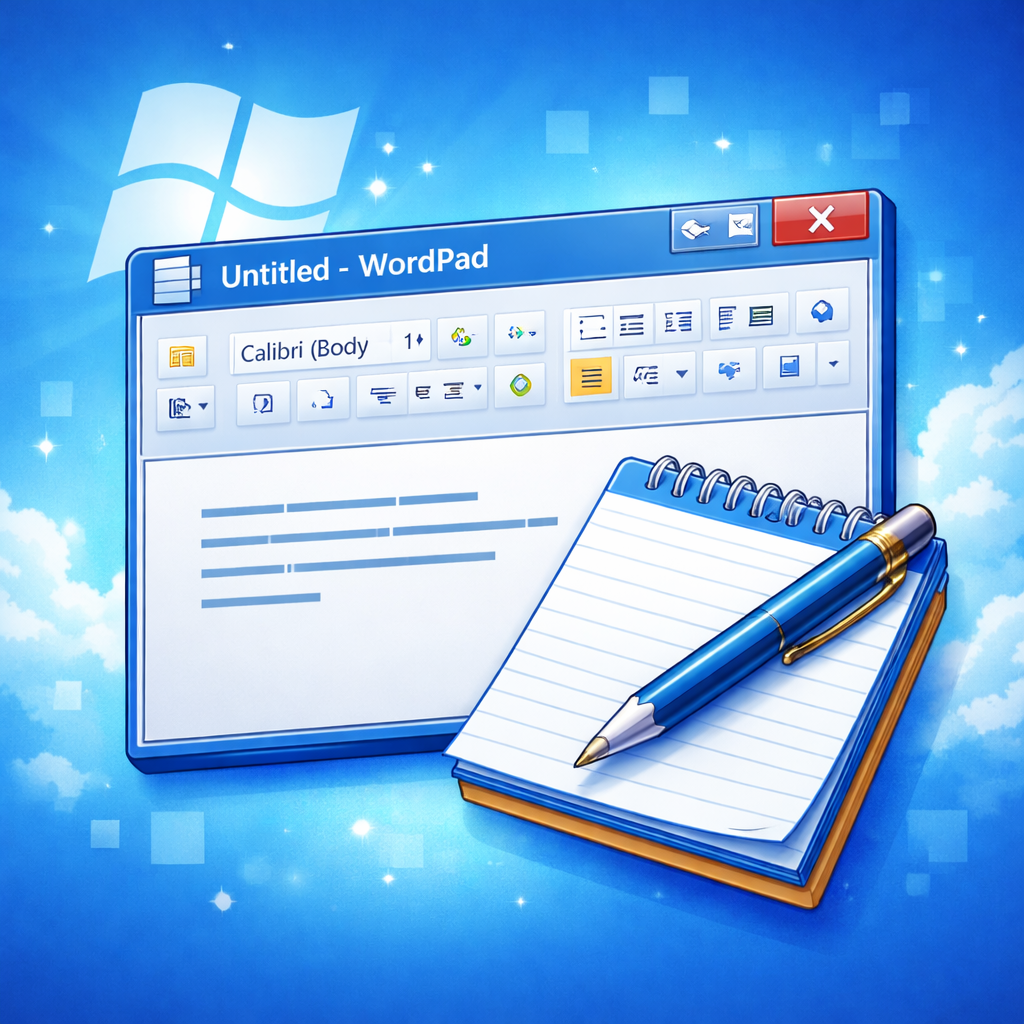
Understanding the WordPad Interface
When WordPad opens, you’ll see a clean and simple interface. At first glance, it may look minimal, but every section serves a purpose.
At the very top is the Title Bar. This shows the name of your current document. If the file hasn’t been saved yet, it will display something like “Document – WordPad.” Once you save it, the file name appears there. On the right side, you’ll find the minimize, maximize, and close buttons.
Below that is the Ribbon Menu, the control center of WordPad. It usually has two main tabs: Home and View. The Home tab contains most formatting tools—font style, size, bold, italic, alignment, and more. The View tab allows you to adjust zoom levels and display settings.
You’ll also notice the Quick Access Toolbar, typically located at the top-left corner. It contains small icons for Save, Undo, and Redo. These are the commands you’ll likely use most often.
The large white area in the center is your workspace. This is where your text appears as you type. Think of it as a blank canvas waiting for your words.
At the bottom, you may see the Status Bar, which provides information like zoom percentage.
The interface is uncluttered and beginner-friendly. Nothing feels overwhelming. Everything is within reach. It’s designed to help you focus on writing—not on figuring out complicated menus.
How to Create a New Document in WordPad
When you open WordPad, a blank document usually appears automatically. It’s like opening a fresh notebook—clean, empty, and ready for your ideas. But what if you’re already working on something and want to start a brand-new file? That’s simple too.
Click on the File menu in the top-left corner (in some versions, it appears as a blue tab). From the dropdown menu, select New. If your current document hasn’t been saved, WordPad will prompt you to save it before creating a new one. This is actually helpful—it prevents accidental data loss.
Creating a new document in WordPad doesn’t require choosing templates or complicated settings. There are no pop-ups asking you to pick layouts or themes. It’s direct and distraction-free. You click “New,” and you’re ready to type.
This simplicity is one of WordPad’s biggest strengths. Unlike advanced word processors that can overwhelm you with formatting choices before you even begin, WordPad gets out of your way. It respects your time.
Before you start typing, though, it’s a good habit to think about your document’s purpose. Are you writing a letter? Drafting notes? Preparing a school assignment? Setting your font style and size at the beginning can save time later. It’s like setting the margins on a sheet of paper before you begin writing neatly.
WordPad keeps the process smooth and intuitive. No unnecessary steps. Just open, create, and write.
Typing and Editing Text in WordPad
Typing in WordPad feels natural. The moment you place your cursor in the blank workspace and start pressing keys, your words appear instantly. There’s no lag, no fancy animation—just pure text input. It’s straightforward and efficient.
But typing is only half the story. Editing is where real control comes in.
To edit text, you first need to select it. Click and drag your mouse over the words you want to modify. The selected text will be highlighted. Once highlighted, you can format, copy, cut, or delete it.
The classic editing trio works perfectly here:
- Cut (Ctrl + X): Removes the selected text and places it on the clipboard.
- Copy (Ctrl + C): Creates a duplicate without removing the original.
- Paste (Ctrl + V): Inserts the copied or cut content at the cursor position.
These shortcuts save time and make rearranging content effortless. Imagine physically cutting a paragraph from paper and gluing it elsewhere—WordPad does it instantly and cleanly.
Made a mistake? No problem. Use Undo (Ctrl + Z) to reverse your last action. Changed your mind about undoing? Use Redo (Ctrl + Y) to bring it back. These features feel like having a rewind and fast-forward button for your writing.
You can also use Backspace and Delete keys to remove unwanted characters. Navigation keys like arrows, Home, and End help you move quickly within your document.
WordPad doesn’t overcomplicate editing. It keeps things smooth, responsive, and reliable—just how writing should feel.
Text Formatting in WordPad
Plain text is functional. But formatted text? That’s powerful. WordPad gives you essential formatting tools that make your document visually appealing without overwhelming you.
Under the Home tab, you’ll find font options. You can change the font style using the dropdown menu. Popular fonts like Arial, Calibri, and Times New Roman are available. Each font has its own personality. Arial feels clean and modern. Times New Roman feels formal and traditional. Choosing the right font can subtly influence how your document is perceived.
Next comes font size. Whether you need large headings or small body text, you can adjust size easily. Most standard documents use sizes between 11 and 14 for readability.
Color adds another layer. By clicking the font color icon (usually marked with an “A”), you can choose different shades. While black remains the safest and most professional choice, subtle color highlights can emphasize important points.
Then there are the classic styling tools:
- Bold for emphasis
- Italic for subtle distinction
- Underline for highlighting
Use these wisely. Too much bold text can feel aggressive. Too much color can look messy. Think of formatting like seasoning food—just enough enhances the flavor, too much ruins it.
WordPad keeps formatting balanced. You get enough tools to make documents look polished but not so many that you get lost experimenting for hours.
Paragraph Formatting and Alignment Options
Formatting isn’t just about fonts—it’s also about structure. Paragraph formatting determines how your text flows and aligns on the page.
WordPad offers four primary alignment options:
- Left Align: Text aligns to the left margin (most common for documents).
- Center Align: Text appears centered (great for titles).
- Right Align: Text aligns to the right margin.
- Justify: In some versions, this option distributes text evenly across margins.
Alignment changes the visual tone of your document. A centered heading immediately grabs attention. Left alignment feels natural and easy to read. Right alignment is often used for dates or signatures.
Line spacing also affects readability. While WordPad doesn’t offer as many spacing controls as Microsoft Word, you can adjust paragraph spacing to make text more breathable. Dense text feels overwhelming. Proper spacing invites readers in.
Bullet lists are another useful feature. By clicking the bullet icon, you can create structured lists like this:
- Clear ideas
- Organized presentation
- Improved readability
Paragraph formatting is like arranging furniture in a room. The same pieces can look cramped or elegant depending on placement. WordPad gives you just enough tools to keep things clean and organized.
Working with Lists and Line Spacing
Lists are incredibly powerful. Instead of writing long, heavy paragraphs, you can break information into digestible pieces. WordPad allows you to create simple bullet lists that improve clarity instantly.
To create a list, click the Bullet List icon under the Home tab. Start typing your first point and press Enter to move to the next bullet. It’s seamless.
For example:
- Step one: Open WordPad
- Step two: Start typing
- Step three: Format your text
This structure makes instructions easier to follow.
Line spacing, although basic compared to Microsoft Word, still plays an important role. Proper spacing ensures your text doesn’t look cramped. Readers appreciate white space—it gives their eyes room to breathe.
When writing longer documents, breaking content into sections and lists keeps things engaging. No one likes reading a wall of text. WordPad may not offer advanced layout features, but its simplicity encourages clean formatting habits.
Inserting Pictures in WordPad
Adding an image can instantly elevate your document. WordPad allows you to insert pictures directly into your file.
Go to the Home tab and click Insert Picture. Browse your computer, select an image, and click Open. The image will appear inside your document.
You can resize the image by dragging its corners. You can also reposition it by clicking and dragging. However, unlike Microsoft Word, WordPad has limited image formatting options. You can’t add fancy effects or advanced text wrapping styles.
Still, for simple tasks—like adding a logo, a screenshot, or a basic illustration—WordPad works perfectly.
Imagine writing a school report about animals and adding a photo of a tiger. The document suddenly becomes more engaging. A visual element captures attention in a way text alone cannot.
WordPad keeps image insertion simple. It doesn’t try to be a graphic design tool. It just lets you enhance your content without complications.
File Management: Save, Save As, and Print
After writing your document, saving it is essential. Click File > Save to store your work. If it’s your first time saving, WordPad will prompt you to choose a location and file name.
The Save As option allows you to create a copy or save the file in a different format. This is useful if you want both an editable version and a backup.
Printing is just as simple. Click File > Print, adjust your printer settings, and confirm. Within seconds, your digital document becomes a physical page.
Supported formats include:
- Rich Text Format (.rtf)
- Text Document (.txt)
- OpenDocument Text (.odt)
- Some versions support .docx
This flexibility allows you to share files across different platforms.
Managing files in WordPad feels straightforward and stress-free. No hidden menus. No confusing prompts. Just clear options that do exactly what you expect.
| All Courses | View List | Enroll Now |
| Mock Tests/Quizzes | View All |
| Student Registration | Register Now |
| Become an Instructor | Apply Now |
| Dashboard | Click Here |
| Student Zone | Click Here |
| Our Team | Meet the Members |
| Contact Us | Get in Touch |
| About Us | Read More |
| Knowledge Base | Click Here |
| Classes/Batches: Class 6th to 12th, BA, B.Sc, B.Com (All Subjects) — Online & Offline Available | Click Here |
| Exam Preparation: SSC, Railway, Police, Banking, TET, UPTET, CTET, and More | Click Here |
| Shree Narayan Computers & Education Center | Home Page |