MS Paint
What Is MS Paint? – A Simple Introduction
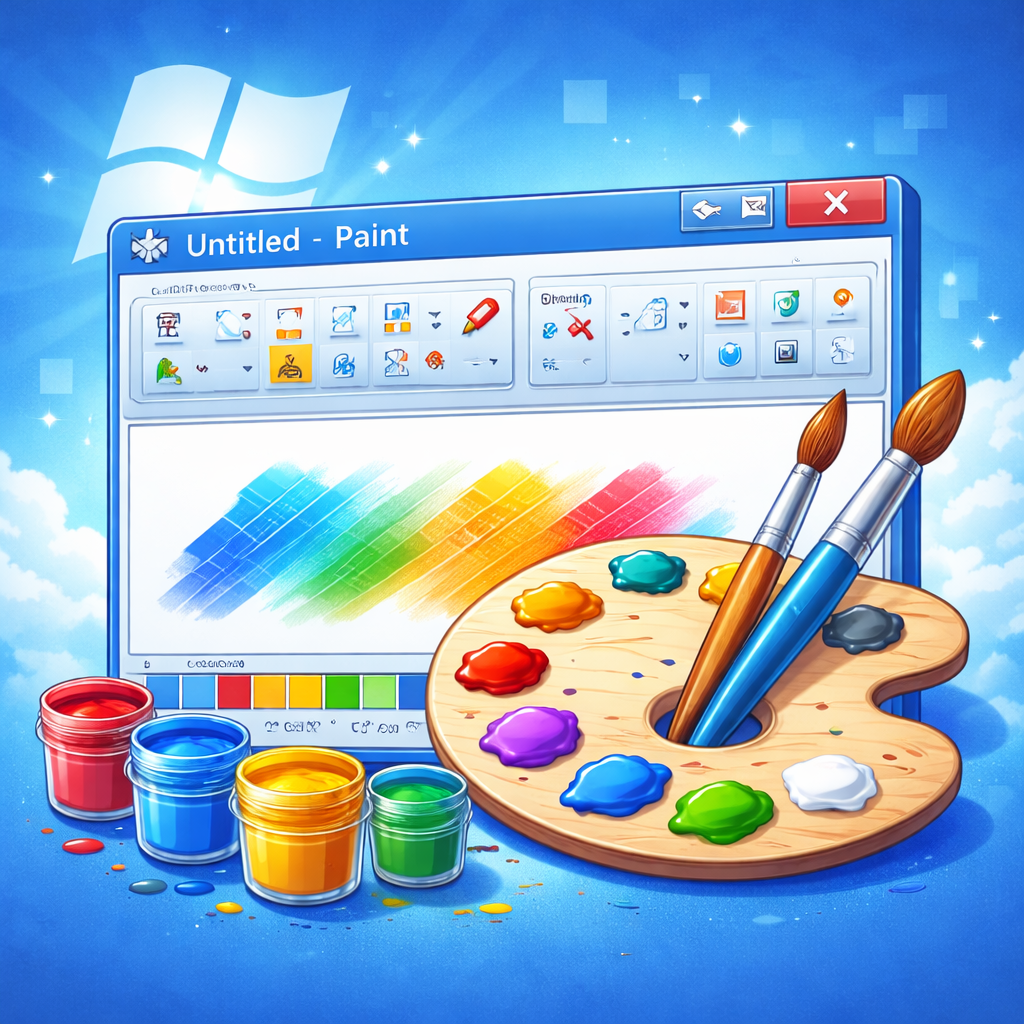
MS Paint, officially known as Microsoft Paint, is one of the most recognizable and beginner-friendly graphics programs ever created. If you have ever used a Windows computer, chances are you have seen it—or at least heard about it. It is that simple drawing application that opens up to a blank white canvas, almost like a fresh sheet of paper waiting for your imagination to take over.
At its core, MS Paint is a basic image creation and editing tool that comes pre-installed with Microsoft Windows. It allows users to draw, color, edit images, add text, crop photos, and perform simple design tasks without needing advanced technical skills. And that’s exactly why it has survived for decades—it’s simple, accessible, and unintimidating.
Think of MS Paint as the digital version of a childhood art kit. You have pencils, brushes, an eraser, a paint bucket, and a set of bright colors. Nothing overwhelming. Nothing complicated. Just tools that do what they are supposed to do.
You might wonder: in a world filled with advanced tools like Photoshop and Illustrator, does MS Paint still matter? The honest answer is yes. Not because it competes with professional software, but because it serves a different purpose. It’s perfect for beginners, students, quick edits, and moments when you just need something done fast without installing heavy programs.
MS Paint proves something important: powerful results don’t always require complex tools. Sometimes, simplicity is the real strength.
The History and Evolution of MS Paint
Early Beginnings in Windows 1.0
MS Paint has a surprisingly long history. It was first introduced in 1985 with Windows 1.0. Back then, computers were nothing like what we use today. Screens were limited, memory was scarce, and software had to be extremely lightweight. MS Paint was created as a simple graphics editor that allowed users to create and modify bitmap images.
In its earliest versions, Paint supported only black-and-white graphics. There were no fancy color palettes or modern brush effects. Yet even in that limited form, it was revolutionary. For the first time, everyday users could create digital drawings without specialized equipment.
As Windows evolved through the 1990s, so did Paint. Windows 95 and Windows 98 introduced better color support and improved usability. By the time Windows XP arrived, MS Paint had become a familiar companion for millions of users worldwide. Many people today still feel nostalgic about the Windows XP version—it was simple, fast, and reliable.
Major Updates Over the Years
In Windows 7, Microsoft redesigned Paint with the Ribbon interface, similar to Microsoft Office. This made tools more visible and easier to access. Instead of digging through menus, users could see icons clearly displayed at the top.
There was even a time when Microsoft hinted at discontinuing Paint in favor of Paint 3D. Users reacted strongly. Social media filled with posts defending the classic tool. As a result, Microsoft kept it alive.
That tells you something powerful: MS Paint isn’t just software. It’s part of digital culture.
How to Open MS Paint on Windows
Opening MS Paint is incredibly simple, but surprisingly, many beginners don’t know the quickest ways to do it. If you’re new to Windows, don’t worry—it takes less than 10 seconds once you know how.
Using the Start Menu
The easiest method is through the Start Menu:
- Click the Start button.
- Type “Paint” in the search bar.
- Click on the MS Paint application.
That’s it. The program opens instantly, ready for use.
On Windows 10 and Windows 11, the interface looks slightly modern, but the steps remain almost identical. If you cannot find it through search, you can browse through “All Apps” and locate it under the “Windows Accessories” folder.
Using the Run Command
Want to feel like a power user? Try this:
- Press Windows + R on your keyboard.
- Type
mspaint. - Press Enter.
MS Paint will open immediately.
This shortcut is especially helpful if you use Paint frequently. You can even create a desktop shortcut for quicker access. Small shortcuts like this may seem minor, but they save time and make you more efficient.
Learning how to open programs quickly is one of the first steps toward becoming comfortable with computers. And MS Paint is often where that journey begins.
Understanding the MS Paint Interface
When you first open MS Paint, you’ll see a clean, straightforward layout. No clutter. No overwhelming toolbars. Just a blank canvas and a set of clearly labeled tools.
Ribbon Menu
At the top, you’ll find the Ribbon menu. This is where most of your tools live. The Home tab contains essential options like brushes, shapes, text tools, resize functions, and color settings. Everything is displayed visually, making it easy to identify tools without reading complicated instructions.
Canvas Area
The large white space in the center is your canvas. This is where all the action happens. Think of it as your digital drawing sheet. You can resize it, zoom in for details, or expand it as needed.
Color Palette
Below the Ribbon, you’ll see the Color Palette. This is your digital paint box. You can choose primary and secondary colors, edit custom shades, and quickly switch between tones.
Status Bar
At the bottom, the Status Bar displays useful information like image dimensions and cursor position. It may look small and unimportant, but when working on precise designs, it becomes surprisingly helpful.
The beauty of MS Paint’s interface lies in its clarity. It doesn’t overwhelm you. It invites you to start creating immediately.
Essential Tools in MS Paint
If MS Paint were a physical art kit, the tools in the Ribbon would be your pencils, brushes, ruler, eraser, and paint bucket neatly arranged in a box. Each one serves a simple purpose, but when combined, they allow you to create surprisingly impressive results.
Let’s start with the Pencil Tool. This tool is perfect for freehand drawing. It creates thin, sharp lines, just like a real pencil. If you enjoy sketching or outlining before coloring, this tool is your best friend. It gives you control and precision, especially when zoomed in for fine details.
Next comes the Brush Tool, which offers multiple brush styles. Unlike the pencil, brushes can create thicker strokes and softer textures. You can choose from options like watercolor, oil brush, crayon, and airbrush. Each style produces a slightly different effect. For example, the airbrush creates a spray-paint look, while the oil brush produces smoother strokes. Adjusting brush size allows you to switch from delicate lines to bold highlights instantly.
The Eraser Tool works exactly how you’d expect. Made a mistake? Simply drag the eraser over the unwanted area. It replaces content with the background color. This means if your background is white, it erases to white. Simple, predictable, and effective.
Then there’s the Fill with Color Tool, often represented by a paint bucket icon. Click inside any closed shape, and it fills the entire area with your selected color. Be careful, though—if there’s even a tiny gap in your outline, the color will spill across the canvas like water escaping through a crack.
Other useful tools include:
- Color Picker (to copy colors from an image)
- Magnifier (to zoom in for detail work)
- Select Tool (to move or copy parts of an image)
Individually, these tools seem basic. Together, they form the foundation of everything you can create in MS Paint.
How to Use Shapes and Lines Effectively
Drawing straight lines or perfect circles freehand can be frustrating. That’s where the Shapes tool comes in. It removes guesswork and helps you create clean, professional-looking designs effortlessly.
MS Paint includes a wide variety of built-in shapes, such as:
- Line
- Rectangle
- Rounded Rectangle
- Circle
- Triangle
- Arrow
- Polygon
- Star
- Heart
To use a shape, simply select it, click on the canvas, and drag your mouse. The shape will expand as you move your cursor. Want a perfectly symmetrical circle or square? Hold the Shift key while dragging. It locks the proportions instantly.
Shapes are especially useful for:
- Creating diagrams
- Designing posters
- Making flowcharts
- Highlighting information
Now let’s talk about Outline and Fill Options. You can customize whether a shape has:
- A solid outline
- No outline
- A specific thickness
- A filled interior color
- No fill at all
For example, if you’re designing a simple banner, you can create a large filled rectangle and then add text on top. If you’re building a flowchart, you might prefer shapes with only outlines and no fill.
The key advantage of shapes is precision. They make your designs look clean and structured. Instead of struggling with uneven lines, you get sharp edges and balanced proportions every time.
How to Add and Format Text in MS Paint
Sometimes an image needs words to complete the message. Whether you’re creating a school project, labeling a diagram, or designing a simple meme, the Text Tool makes it easy.
To use it, click the “A” icon in the Ribbon and then click anywhere on the canvas. A text box will appear. You can type directly inside it. While the text box is active, you can customize:
- Font style
- Font size
- Bold or italic formatting
- Text color
You’ll also notice two background options:
- Transparent Background – The image behind the text remains visible.
- Opaque Background – The text sits on a colored block.
Choosing the right option depends on your design goal. Transparent works well when placing text over photos. Opaque works better when you need clarity and contrast.
One important thing to remember: once you click outside the text box, the text becomes fixed. You cannot edit it afterward unless you undo the action. So double-check spelling and formatting before finalizing.
The Text Tool transforms simple drawings into informative visuals. A basic rectangle becomes a title banner. A circle becomes a labeled diagram. Words give structure and meaning to your design.
How to Resize, Crop, and Rotate Images
MS Paint is not just for drawing from scratch. It’s also incredibly useful for basic image editing tasks like cropping, resizing, and rotating photos.
Cropping an Image
To crop an image:
- Select the Select Tool.
- Drag your mouse around the portion you want to keep.
- Click the Crop button.
Everything outside your selection disappears. This is perfect for trimming unwanted edges or focusing on a specific subject.
Resizing Without Losing Proportion
Click the Resize button in the Ribbon. You can adjust the image by percentage or by pixels. To prevent distortion, keep the “Maintain Aspect Ratio” box checked. This ensures the width and height scale evenly.
Resizing is useful when:
- Uploading images online
- Reducing file size
- Adjusting images for documents
Rotating and Flipping
The Rotate option allows you to:
- Rotate right 90°
- Rotate left 90°
- Rotate 180°
- Flip vertically or horizontally
If you’ve ever taken a photo sideways and needed to correct it, this feature is a lifesaver.
These tools may seem basic, but they cover most everyday editing needs quickly and efficiently.
Creating Simple Drawings in MS Paint
Drawing in MS Paint feels surprisingly nostalgic. There’s something satisfying about starting with a blank white canvas and slowly building something from scratch.
Let’s create a simple example: a house.
- Use the Rectangle tool to draw the base.
- Use the Triangle shape for the roof.
- Add smaller rectangles for windows.
- Draw a door using lines.
- Fill everything with color using the paint bucket.
Within minutes, you have a complete illustration.
To improve your drawings:
- Use Zoom for detailed areas.
- Start with light pencil outlines before coloring.
- Experiment with different brush textures.
- Use layers creatively by copying and pasting sections.
Even though MS Paint doesn’t support true layering like advanced programs, you can simulate effects by carefully arranging elements.
Creativity doesn’t require expensive tools. It requires imagination. MS Paint simply gives you a space to express it.
Basic Photo Editing Tricks in MS Paint
While MS Paint is not designed for professional photo editing, it can handle basic adjustments effectively.
You can:
- Add labels or captions
- Highlight important areas using shapes
- Blur small sections manually using brush blending
- Remove simple backgrounds with the eraser tool
For background changes, if the background is a solid color, you can carefully erase it and fill it with a new shade. It takes patience, but it works for simple projects.
You can also combine images:
- Open the first image.
- Select a portion.
- Copy and paste it into another image.
This technique helps create simple thumbnails or presentation graphics.
For quick edits without installing heavy software, MS Paint does the job reliably.
Saving and Exporting Files in Different Formats
After finishing your work, saving it properly is crucial. MS Paint allows you to save images in multiple formats.
Here’s a comparison:
| Format | Best For | File Size | Quality |
|---|---|---|---|
| JPEG | Photographs | Small | Good |
| PNG | Graphics & Logos | Medium | High |
| BMP | Raw Image Quality | Large | Very High |
| GIF | Simple Graphics | Small | Limited Colors |
Choose JPEG for everyday photos.
Choose PNG for designs requiring clarity or transparency.
Choose BMP only when maximum quality is required and file size doesn’t matter.
Always give your file a descriptive name. Instead of “image1,” use something like “Science_Project_Diagram.” It saves time later.
Saving correctly protects your effort. It’s the final step that ensures your creativity isn’t lost.
Advantages of MS Paint
MS Paint has remained relevant for decades because of its strengths:
- Completely free
- Lightweight and fast
- Beginner-friendly
- No learning curve
- Perfect for quick edits
It loads instantly and works on almost any Windows computer. For simple tasks, it’s often faster than opening complex software.
Limitations of MS Paint
Despite its strengths, MS Paint has limitations:
- No layer support
- No advanced filters
- Limited color correction tools
- No professional retouching features
It’s not suitable for complex graphic design or high-end photo editing. But it was never meant to compete in that category.
MS Paint vs Paint 3D vs Photoshop
| Feature | MS Paint | Paint 3D | Photoshop |
|---|---|---|---|
| Cost | Free | Free | Paid |
| Complexity | Very Low | Moderate | High |
| 3D Support | No | Yes | Limited |
| Layers | No | Basic | Advanced |
| Professional Use | No | Limited | Yes |
MS Paint wins in simplicity. Photoshop wins in power. Paint 3D sits somewhere in between.
Choose based on your needs.
Why Students and Beginners Should Learn MS Paint
For students, MS Paint is often the first introduction to digital creativity. It teaches essential computer skills:
- File management
- Mouse control
- Basic editing
- Design fundamentals
It builds confidence. When beginners create something visually appealing on their own, they feel capable. That confidence encourages them to explore more advanced tools later.
MS Paint is not just software. It’s a starting point.
Useful Tips and Shortcuts for Faster Work
Here are some handy shortcuts:
- Ctrl + Z – Undo
- Ctrl + S – Save
- Ctrl + C / Ctrl + V – Copy/Paste
- Ctrl + A – Select All
- Shift + Drag – Perfect shapes
Small shortcuts make a big difference. They speed up workflow and make you more efficient.
Practice regularly. Even 10 minutes a day improves your comfort level significantly.
| All Courses | View List | Enroll Now |
| Mock Tests/Quizzes | View All |
| Student Registration | Register Now |
| Become an Instructor | Apply Now |
| Dashboard | Click Here |
| Student Zone | Click Here |
| Our Team | Meet the Members |
| Contact Us | Get in Touch |
| About Us | Read More |
| Knowledge Base | Click Here |
| Classes/Batches: Class 6th to 12th, BA, B.Sc, B.Com (All Subjects) — Online & Offline Available | Click Here |
| Exam Preparation: SSC, Railway, Police, Banking, TET, UPTET, CTET, and More | Click Here |
| Shree Narayan Computers & Education Center | Home Page |