Understanding the WordPress Dashboard
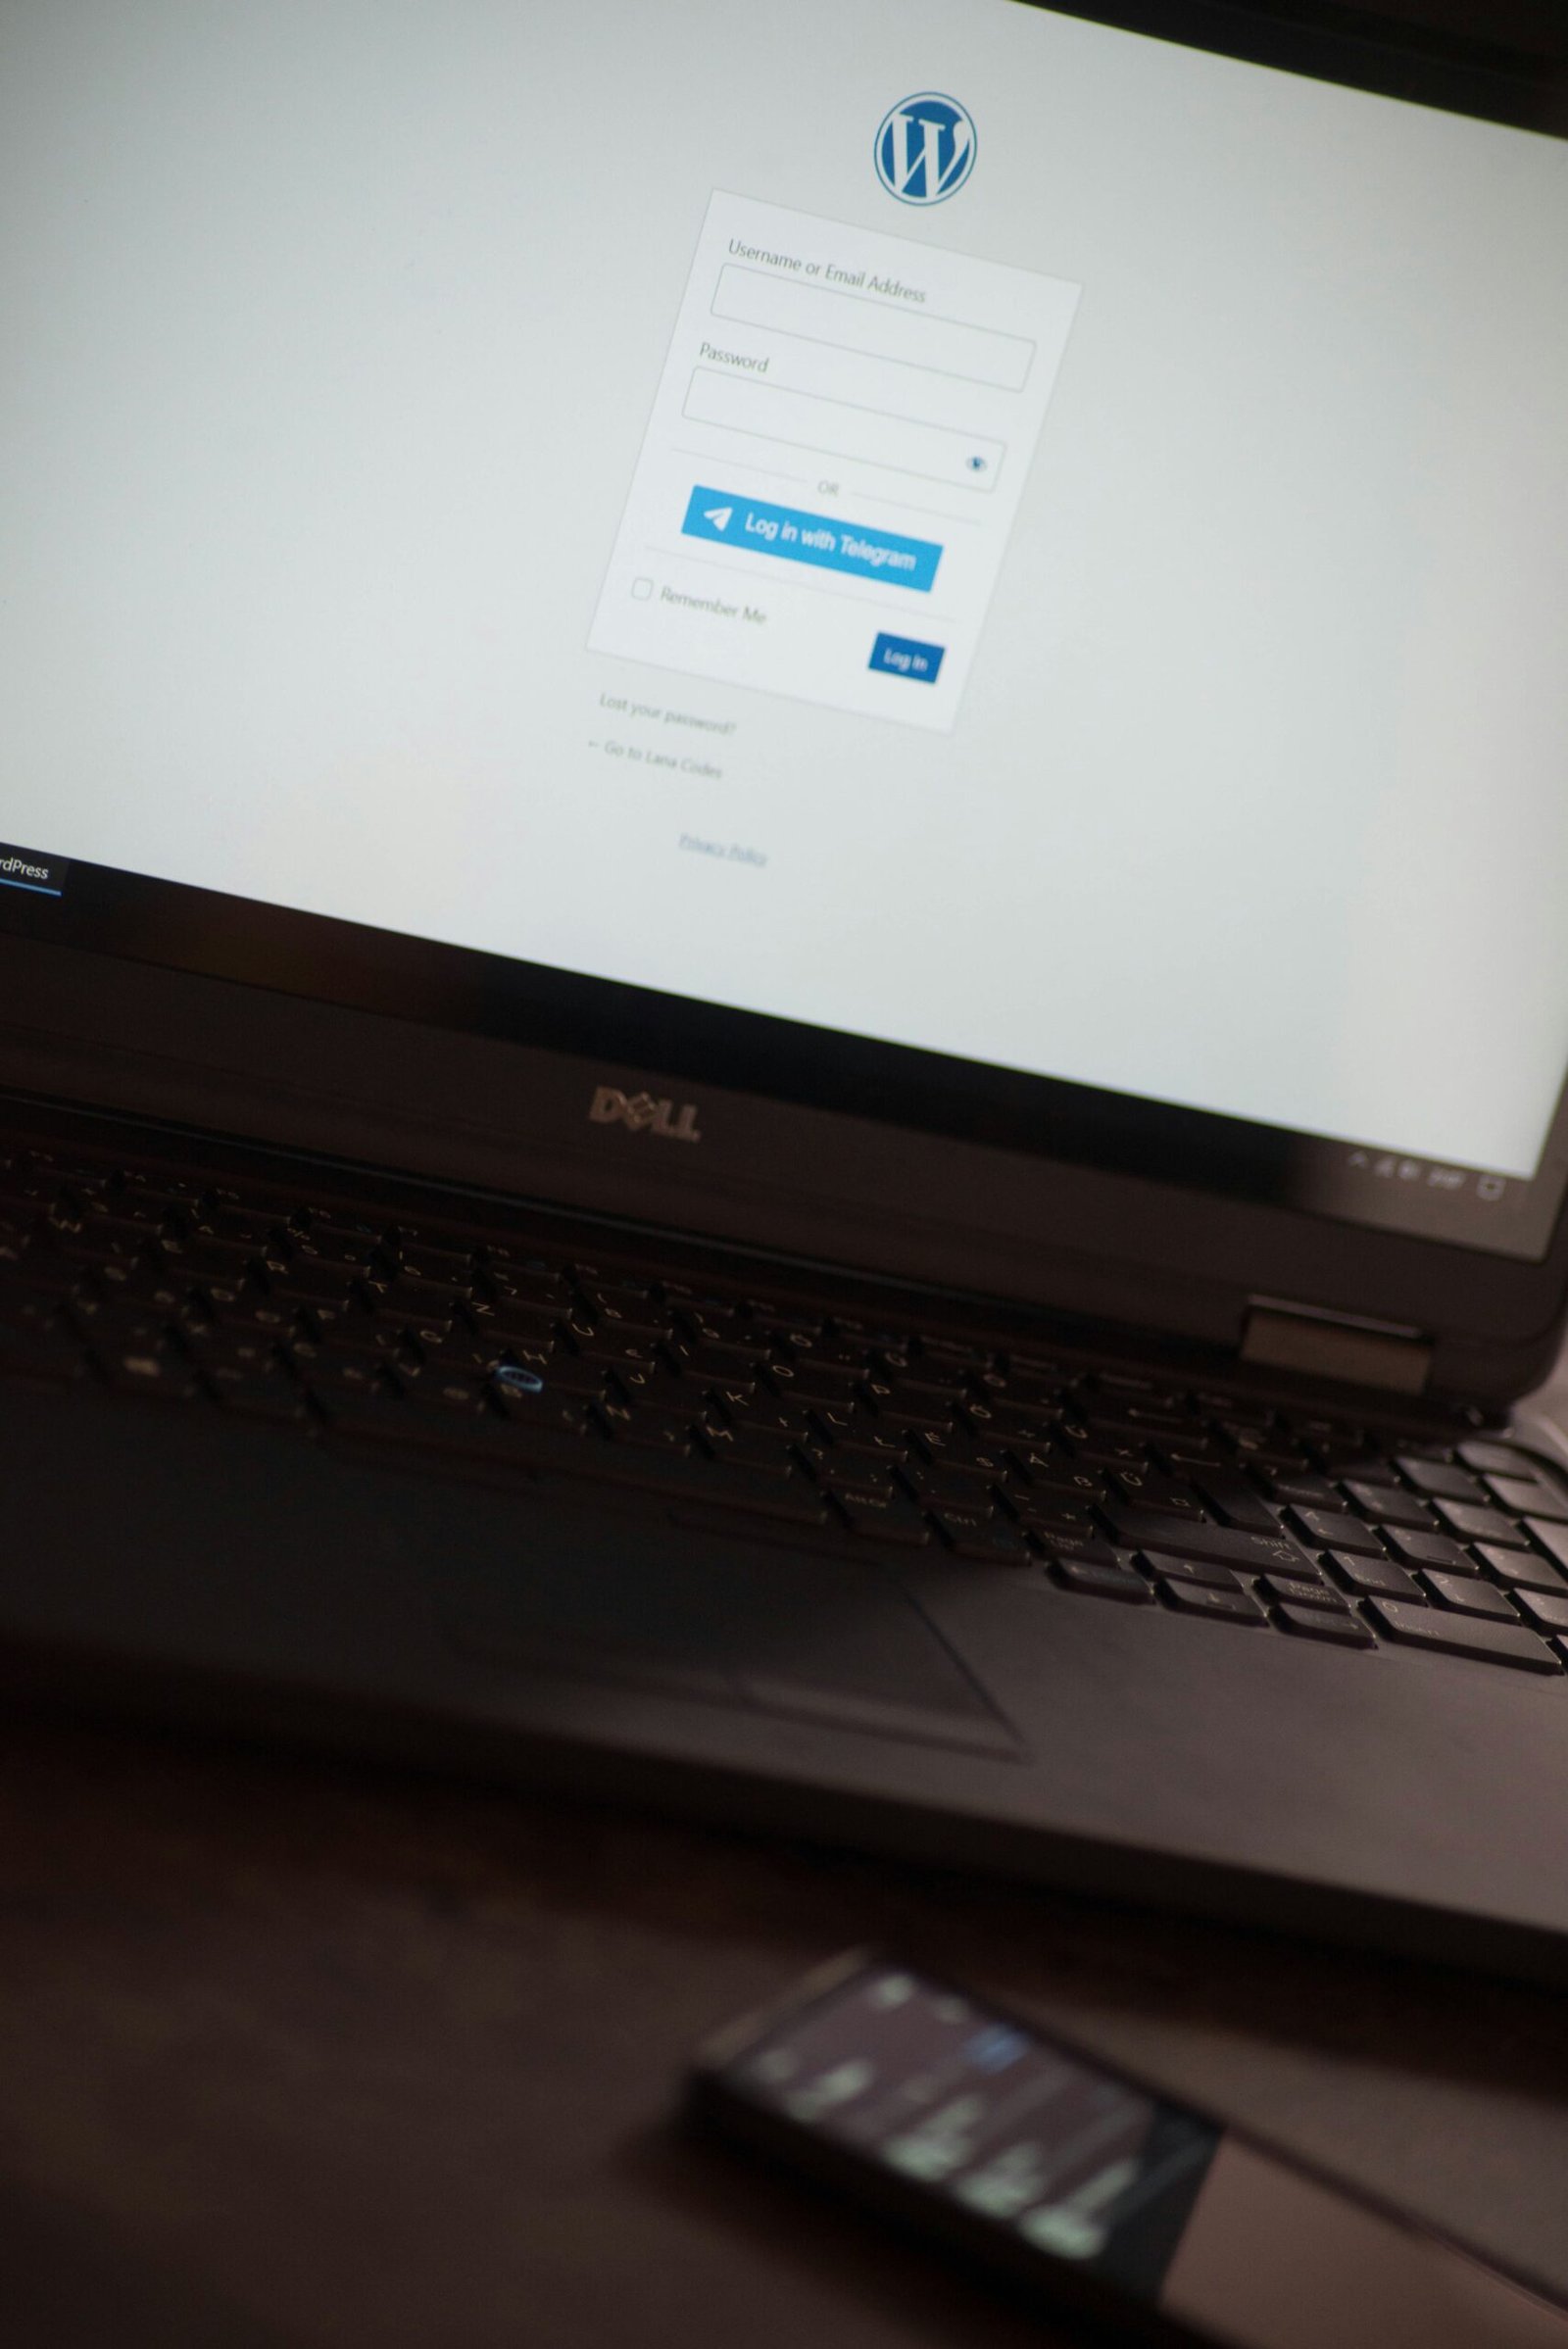
The WordPress dashboard serves as the control center for your website, providing an easy-to-navigate interface for managing content and settings. Upon logging into your WordPress site using your administrator credentials, you will be greeted by the dashboard’s default view, which features a clean layout that emphasizes accessibility and functionality.
At the top of the dashboard, you will find the WordPress logo, which, when clicked, takes you back to your site’s homepage. Just below it, the Admin Menu displays various options including Posts, Media, Pages, Comments, Appearance, Plugins, Users, Tools, and Settings. This menu allows you to access the different areas of your site and is typically located on the left-hand side of the screen.
The Posts section is particularly important for content creation. Here, you will find options to add new posts, manage existing ones, and categorize your articles. Clicking on Add New opens the post editor, where you can write and format your content. The appearance of the post editor, while straightforward, is equipped with various tools to enhance your writing experience. This includes formatting options, the ability to add media files, and categories or tags to optimize your posts for search engines.
Additionally, the right sidebar of the dashboard contains options for screen settings and help resources. Familiarizing yourself with the layout of the dashboard is crucial, as it not only streamlines the post-creation process but also ensures that you can utilize all the features WordPress offers effectively.
Creating a New Post
To begin creating a new post in WordPress, navigate to the dashboard and locate the menu on the left-hand side. Here, you will find the ‘Posts’ section, where you should click on ‘Add New.’ This action will redirect you to the post editor, displaying a clean slate ready for content creation. You will notice two primary fields: the post title and the content area.
First, enter your desired title in the designated field. The title is crucial as it provides the first impression to your readers and plays a significant role in search engine optimization (SEO). After you have successfully inputted the title, move on to the content area below. WordPress utilizes a block editor, which allows you to compose your text in blocks. Each paragraph or element, such as images, videos, or quotes, can be treated as a separate block, facilitating easier formatting and rearrangement.
The block editor offers a variety of formatting options to enhance the appearance of your post. You can format text using headers, paragraphs, lists, and quotes to break up the content effectively. Additionally, the incorporation of media, such as images or videos, can enrich your post, making it more engaging for readers. To add visual content, simply click on the ‘+’ icon within the editor to create a new block, then select ‘Image’ or ‘Video’ to upload your chosen media file. WordPress also allows the use of embedded links from platforms like YouTube or Vimeo, further diversifying the media included in your post.
Remember to regularly save your work by clicking the ‘Save Draft’ button, especially when writing longer posts. WordPress auto-saves your progress, but manual saving ensures you do not lose any critical changes.
Setting Post Options and Categories
When creating a post in WordPress, it is essential to effectively configure various options to enhance user experience and optimize your content for search engines. One of the first steps is to choose an appropriate category for your post. Categories help organize content on your website, allowing readers to easily navigate and find related articles. Typically, a post can belong to multiple categories, but it’s advisable to limit it to a few relevant ones to maintain clarity.
In addition to categories, adding tags to your post can further enhance its searchability. Tags act as keywords related to the content, helping users find specific topics on your site. When selecting tags, ensure they are directly relevant to the post to improve the overall user experience. A well-tagged post can help in improving internal linking, guiding readers to similar content.
Setting a featured image is another critical aspect of the post setup. The featured image serves not only as a visual representation of the content but also plays a role in attracting attention when shared on social media. Be sure to choose an engaging and high-quality image to capture the interest of your audience.
Lastly, optimizing your post for search engines requires utilizing specific SEO plugins available in WordPress. Popular plugins such as Yoast SEO and All in One SEO Pack offer functionalities to enhance on-page SEO. By setting relevant meta titles, descriptions, and using focus keywords effectively, you can greatly improve your post’s visibility in search engine results. Remember, proper categorization, tagging, and optimization of posts are foundational steps in ensuring your content reaches its intended audience.
Publishing and Managing Posts
Once your post is complete, it is essential to navigate the various options available for publishing. In the WordPress editor, you will find a “Publish” panel on the right-hand side. Here, you can choose to publish your post immediately or schedule it for a later date. Scheduling is particularly advantageous for planning your content strategy, allowing you to maintain a consistent posting schedule without the need for manual uploads each time.
If you are not yet ready to make your content public, you can utilize the “Save Draft” option. This enables you to revisit the post later, allowing for further edits or refinements before publication. There’s also a “Preview” feature that lets you see how the post will look on your website once published. This is crucial for ensuring that formatting, images, and links appear as intended, enhancing the overall reader experience.
After your post goes live, managing existing posts becomes vital for your content strategy. You can access all your posts through the “Posts” menu in the WordPress dashboard. Here, you can edit any post by clicking on the title or the “Edit” option beneath it. This function allows you to update content, add new information, or correct errors ensuring your audience receives the most accurate information. In case a post is no longer relevant, you have the option to delete it or move it to the trash.
Additionally, promoting your posts is important for gaining traction. Utilize social media channels, newsletters, or collaboration with other bloggers to increase visibility. Engaging your audience through comments and feedback also fosters a community around your content, ensuring your posts resonate with the target audience. Effectively managing and promoting your WordPress posts is key to sustaining an interactive and dynamic online presence.
| All Courses | View List | Enroll Now |
| Mock Tests/Quizzes | View All |
| Student Registration | Register Now |
| Become an Instructor | Apply Now |
| Dashboard | Click Here |
| Student Zone | Click Here |
| Our Team | Meet the Members |
| Contact Us | Get in Touch |
| About Us | Read More |
| Knowledge Base | Click Here |
| Classes/Batches: Class 6th to 12th, BA, B.Sc, B.Com (All Subjects) — Online & Offline Available | Click Here |
| Exam Preparation: SSC, Railway, Police, Banking, TET, UPTET, CTET, and More | Click Here |
| Shree Narayan Computers & Education Center | Home Page |