Understanding WordPress Themes
WordPress themes define the visual appearance and functionality of your website. With thousands of themes available, it’s essential to choose one that fits your site’s goals. Whether you’re starting a blog or a business website, installing the right theme can enhance user experience and engagement.
Preparing for Installation
Before you install a theme, it’s crucial to back up your current site. This precaution ensures that if anything goes wrong during the installation, you can revert to the original state. Additionally, make sure your WordPress version is up to date to avoid compatibility issues with the new theme.
Steps to Install a Theme
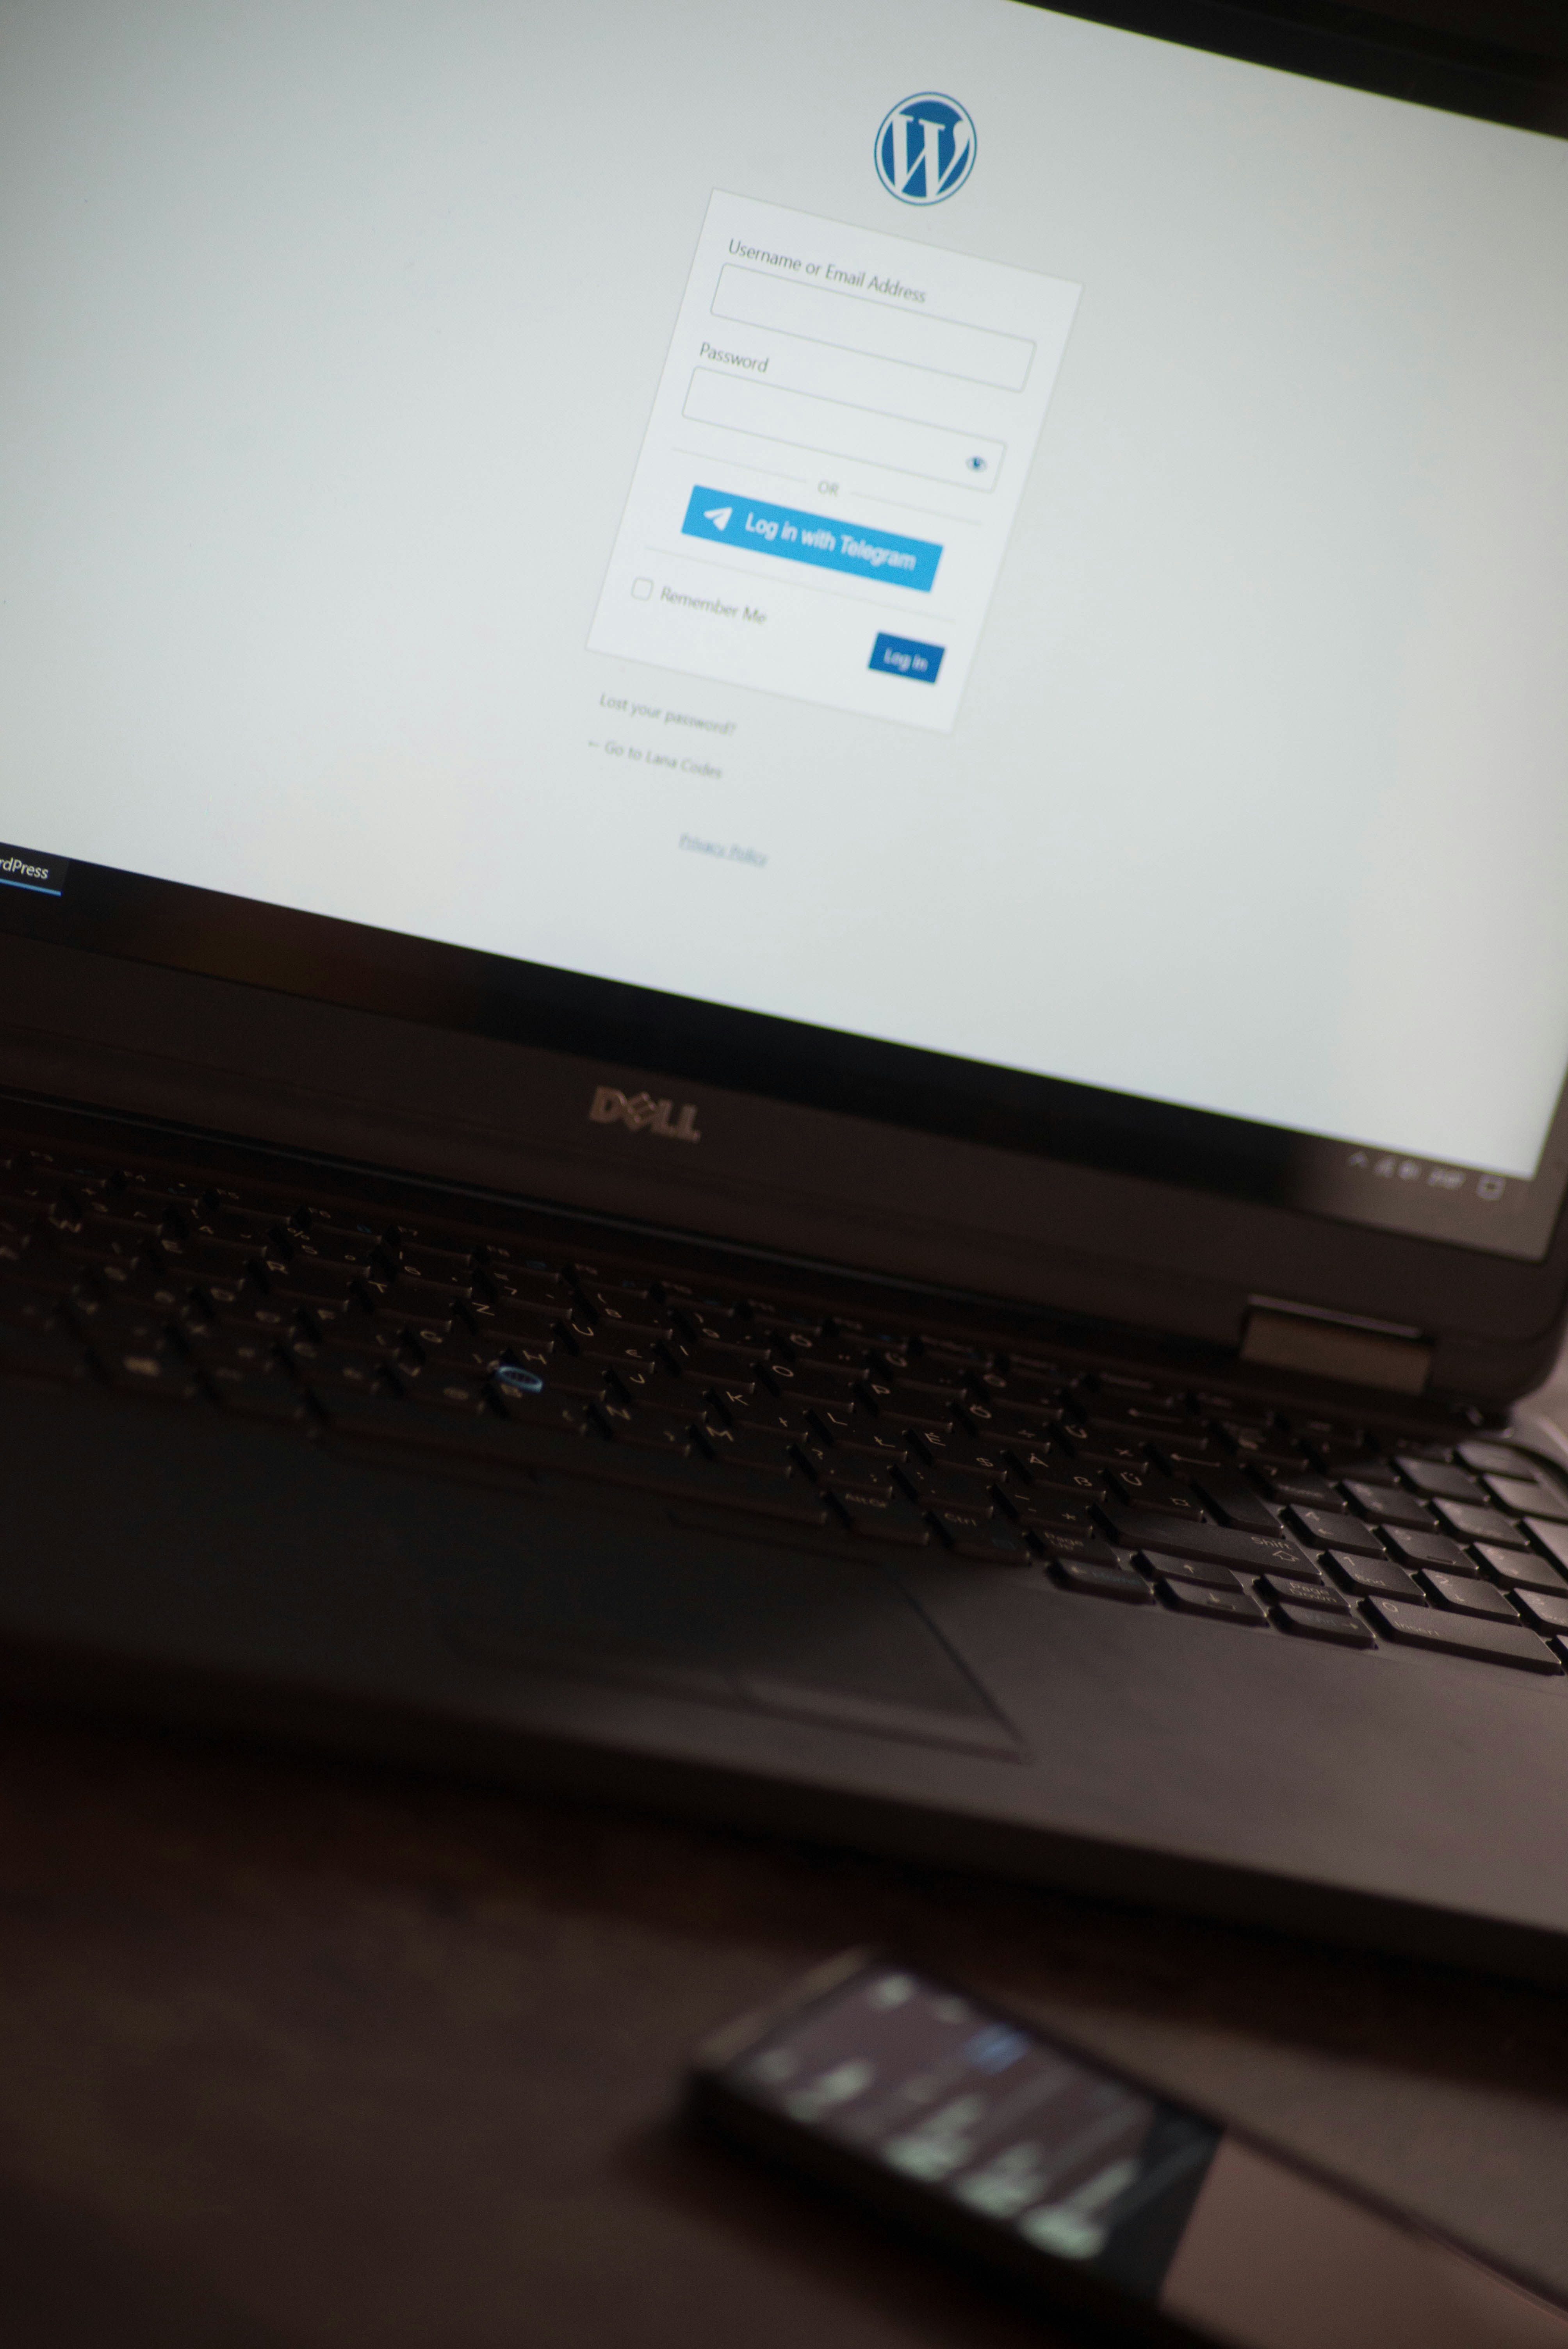
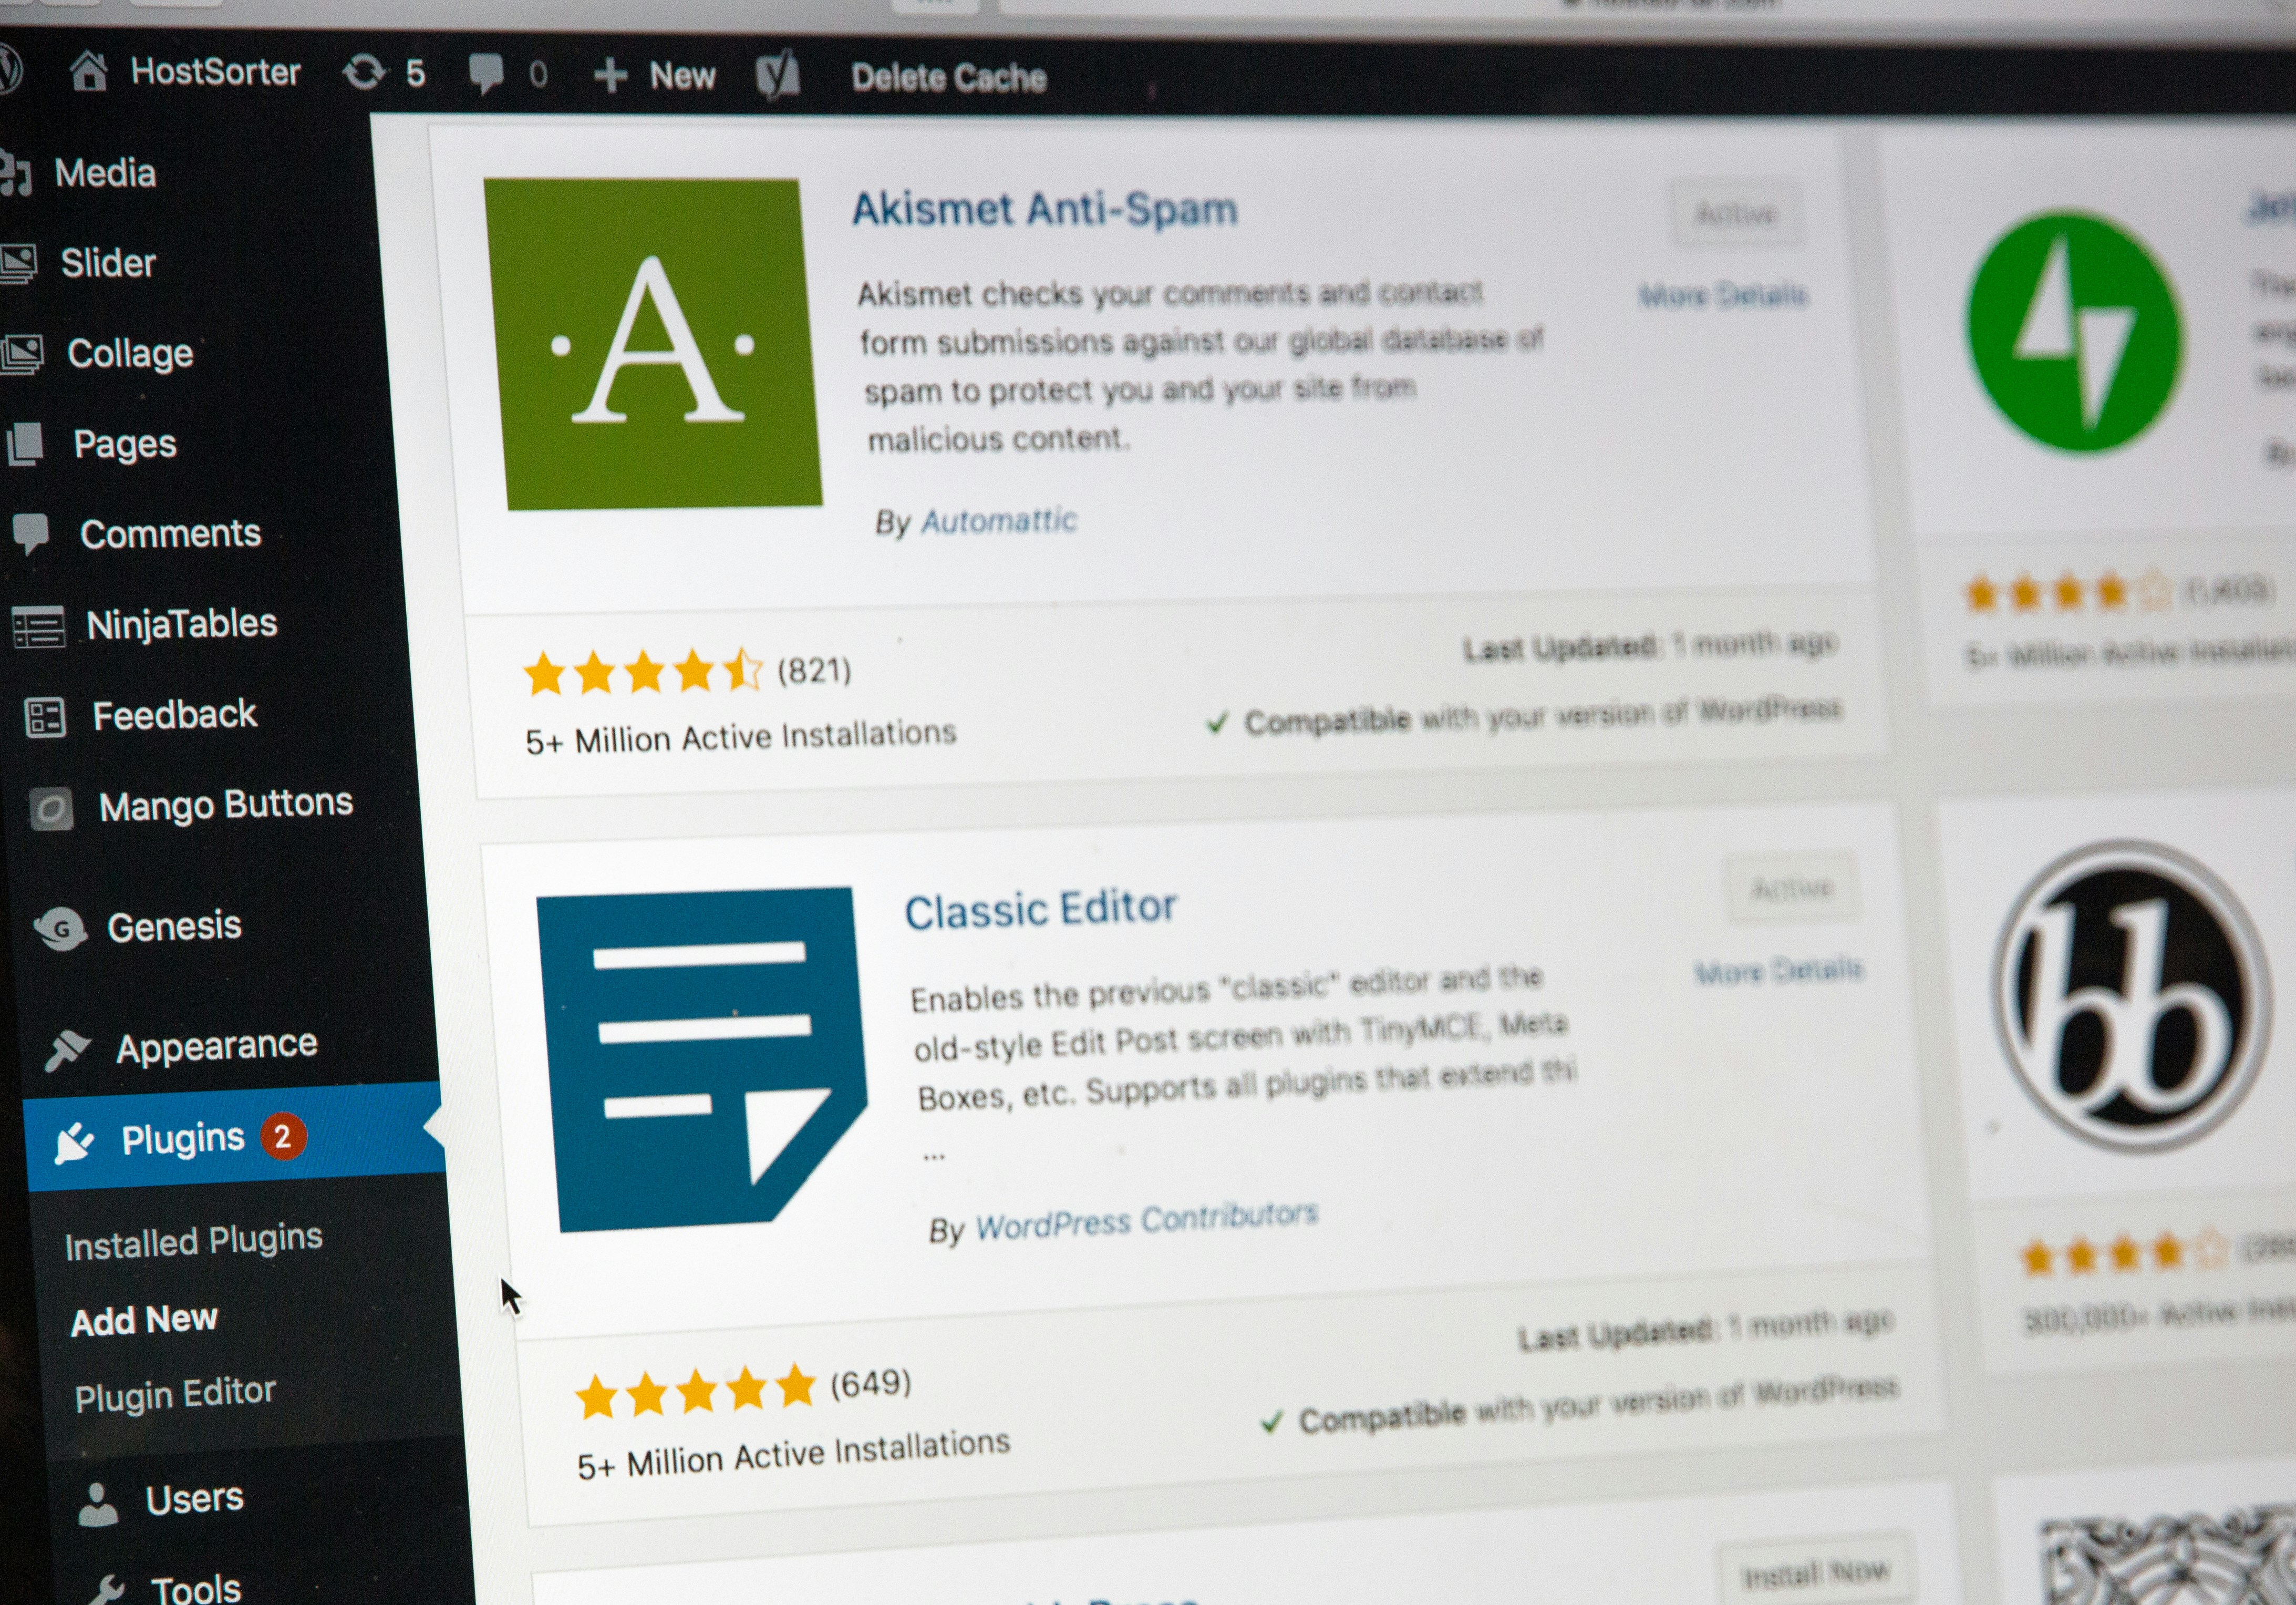
1. **Access Your Dashboard**: Log in to your WordPress dashboard and navigate to the ‘Appearance’ section followed by ‘Themes’. 2. **Add New Theme**: Click on ‘Add New’ to browse available themes or upload a custom one. 3. **Install and Activate**: If you find a theme you like, click ‘Install’. Once installed, you can preview it. To make it live, click ‘Activate’. 4. **Customize Your Theme**: After activation, you can customize settings under ‘Appearance’ > ‘Customize’ to adjust elements like colors, fonts, and layouts.
Once you’ve correctly installed your theme, your website will reflect the changes immediately. Always remember to check the theme’s documentation for any specific instructions or features that may enhance your site further.