How to Create a Page in WordPress: A Step-by-Step Guide
Understanding WordPress Pages vs Posts
WordPress is a versatile content management system that accommodates different types of content. Two of the primary content types within WordPress are pages and posts, each serving distinct purposes. Understanding the differences between these two types is essential for effective website organization and content strategy.
Pages are primarily designed for static content that does not change frequently. Typical examples of pages include the ‘About Us’ and ‘Contact’ pages. These sections provide fundamental information about a business or individual and are generally intended to remain consistent over time. Pages typically do not include timestamps or categories, and are often accessed through the site’s navigation menu, making them easy for visitors to find.
On the other hand, posts are intended for dynamic content, usually representing blog entries, articles, or updates that continue to evolve. Posts are commonly organized by categories and tags, making them suitable for time-sensitive information. For instance, a news article would fall under posts since it reflects current events and is often showcased by date of publication. Posts are typically displayed in reverse chronological order, encouraging reader engagement through comments and social sharing.
Overall, the choice between using pages or posts in WordPress hinges on the nature of the content being published. Static content is best suited for pages, as this ensures that visitors can access key information without sifting through a blog feed. Conversely, time-sensitive content is best presented as posts, allowing for chronological organization and ongoing interaction. Utilizing pages and posts effectively will enhance user experience and ensure that website content serves its intended function.
Navigating the WordPress Dashboard
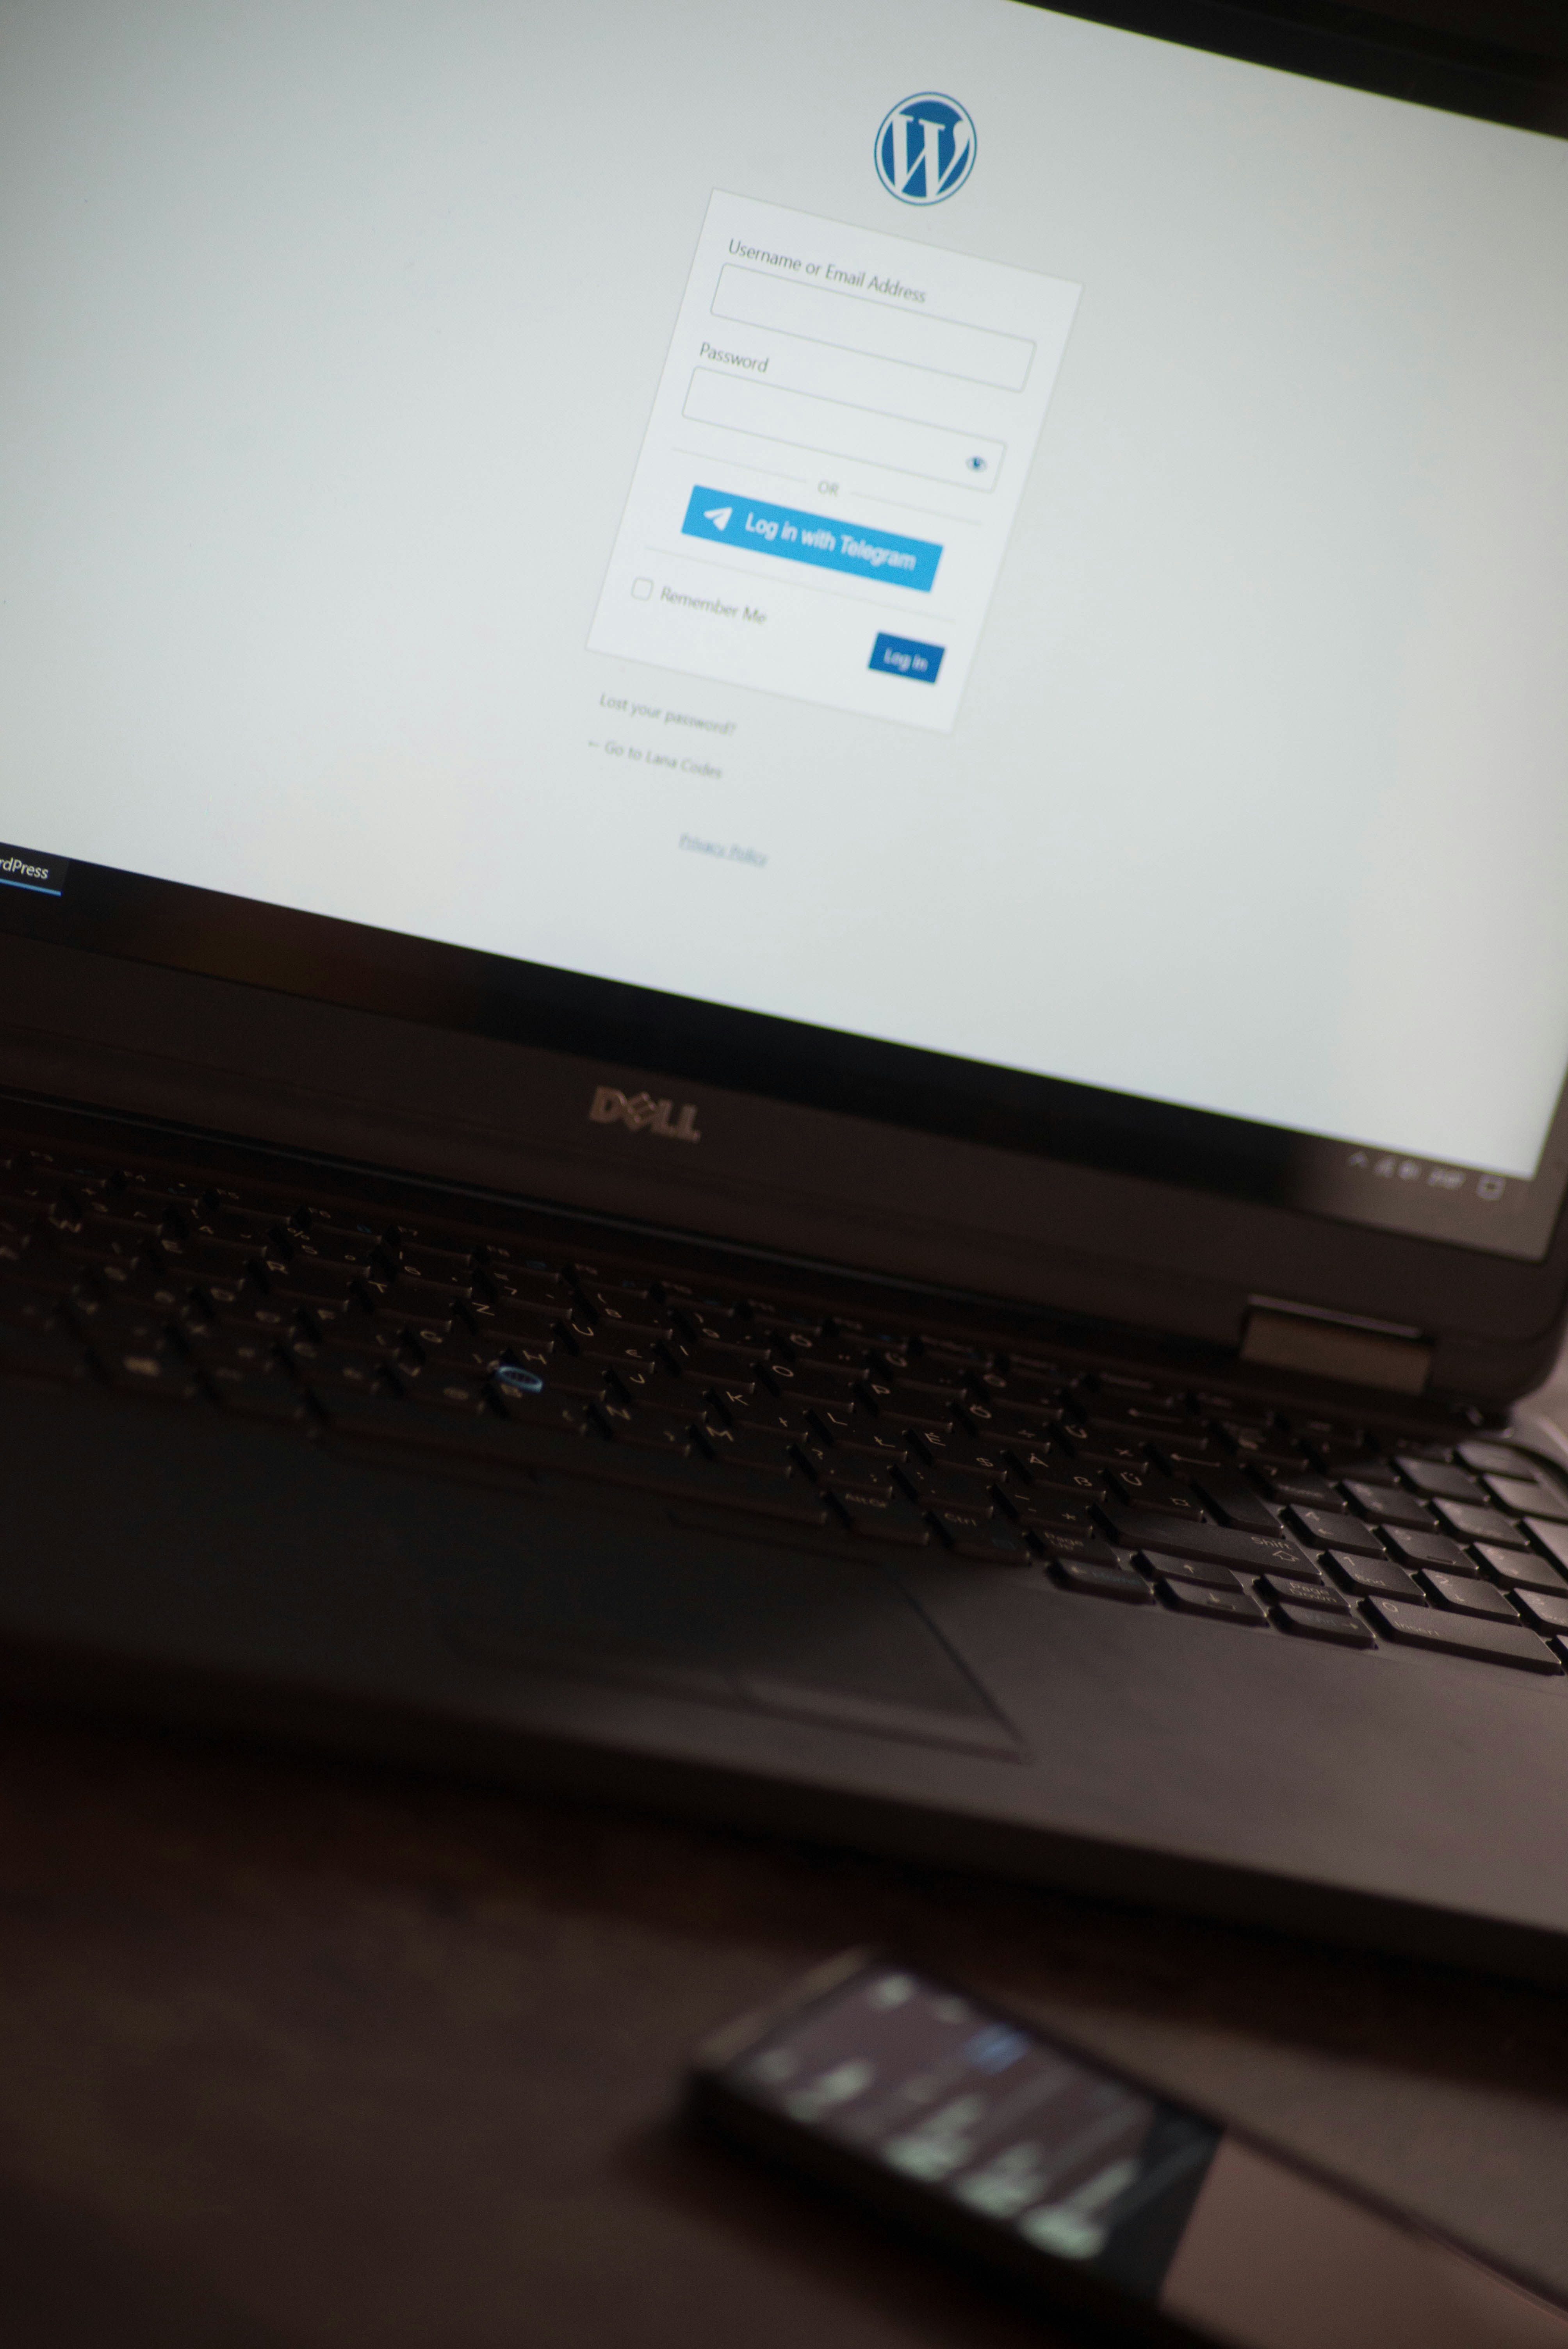
The WordPress dashboard serves as the central control panel for your website, allowing you to manage all aspects of your site, including creating and editing pages. To access the WordPress dashboard, first, navigate to your website’s URL and add “/wp-admin” at the end, or use the designated login URL provided by your hosting provider. Enter your credentials to log in.
Once logged in, you will be presented with the dashboard interface. This interface is user-friendly, featuring a sidebar on the left and a main display area that provides information related to your site’s performance and activities. The primary sections accessible from the sidebar include Posts, Media, Pages, Comments, and Settings.
To create a new page, locate the Pages option within the sidebar menu. Clicking on it will reveal a dropdown with options such as All Pages and Add New. The All Pages option displays a list of all existing pages, while the Add New option directs you to a new screen for creating your page.
In the main area of the Add New Page screen, you will find fields to enter the page title and content. Below the content area, various settings will allow you to customize your page, including Page Attributes, where you can choose the parent page or customize the template. Take note of the other options available relevant to publishing your page, including visibility and publish date.
Familiarizing yourself with these elements of the WordPress dashboard will streamline the process of page creation. Utilizing just a few essential tools effectively can make a significant difference in managing your site and ensuring your content is well-organized and accessible.
Creating a New Page: Step-by-Step Instructions
Creating a new page in WordPress can be a straightforward process when following these systematic steps. To begin, log into your WordPress dashboard. On the left-hand side, locate the “Pages” menu and click on it. This action will direct you to the “All Pages” section, where you can see the existing pages of your website.
Next, click on the “Add New” button located at the top of the page. This will take you to a new screen where you can start creating your page. The first step in this process is to provide a title for your new page. Simply enter a relevant and descriptive title in the designated field at the top.
Once the title is set, you can start adding content using the Gutenberg block editor. This editor allows you to utilize various content blocks to create a more engaging page layout. To insert content, you can click the add block button (the + icon) and select the type of block you wish to add. This could include paragraphs, images, headings, lists, or embedded media.
For instance, if you want to add text, select the “Paragraph” block and type the desired text in the provided area. To customize the layout of your page further, you can rearrange blocks by dragging them into the desired position. This flexibility enables you to create a visually appealing structure that aligns with your content goals.
Additionally, don’t overlook the need to customize your page’s design. Use the block settings available on the right sidebar to adjust features such as colors, alignment, and background options. This ensures that your page aligns with your site’s aesthetic and branding.
After reviewing your content and layout, you may choose to preview your page by clicking the “Preview” button. This feature allows you to see how your page will appear to visitors. Once satisfied, you can publish your page by pressing the “Publish” button, making it live on your website. Congratulations, you have successfully created a new page in WordPress!
Publishing and Managing Your WordPress Page
After completing the creation of your WordPress page, the next critical step involves publishing it to make it live on your website. To publish, locate the ‘Publish’ button, usually found on the right side of the editor screen. Once clicked, your page will be made visible to all visitors. You can choose to either publish immediately or schedule the page for a future date, allowing flexibility in your content management strategy.
Once your page is published, managing it effectively is essential. You may need to revisit it for editing purposes. You can easily edit existing pages by navigating to the ‘Pages’ section in your WordPress dashboard, selecting the desired page, and then clicking the ‘Edit’ link. This will bring you back to the editor where you can make any necessary content adjustments or updates, ensuring that your information remains current and relevant.
Another important aspect of page management is the navigation menu configuration. Setting menu preferences ensures your newly published page appears seamlessly within the site’s navigation structure. This can be accomplished by going to the ‘Appearance’ tab, selecting ‘Menus’, and choosing your desired menu location. Here, you can add your new page to the menu by checking the box next to its name and saving changes.
To enhance the visibility of your page, particularly regarding search engine optimization (SEO), consider adding relevant keywords, meta descriptions, and alt text for images. This practice improves your page’s chances of ranking higher in search results, driving more traffic to your site. The integration of SEO techniques during the management phase not only bolsters visibility but also ensures that the content resonates with your target audience.
| All Courses | View List | Enroll Now |
| Mock Tests/Quizzes | View All |
| Student Registration | Register Now |
| Become an Instructor | Apply Now |
| Dashboard | Click Here |
| Student Zone | Click Here |
| Our Team | Meet the Members |
| Contact Us | Get in Touch |
| About Us | Read More |
| Knowledge Base | Click Here |
| Classes/Batches: Class 6th to 12th, BA, B.Sc, B.Com (All Subjects) — Online & Offline Available | Click Here |
| Exam Preparation: SSC, Railway, Police, Banking, TET, UPTET, CTET, and More | Click Here |
| Shree Narayan Computers & Education Center | Home Page |